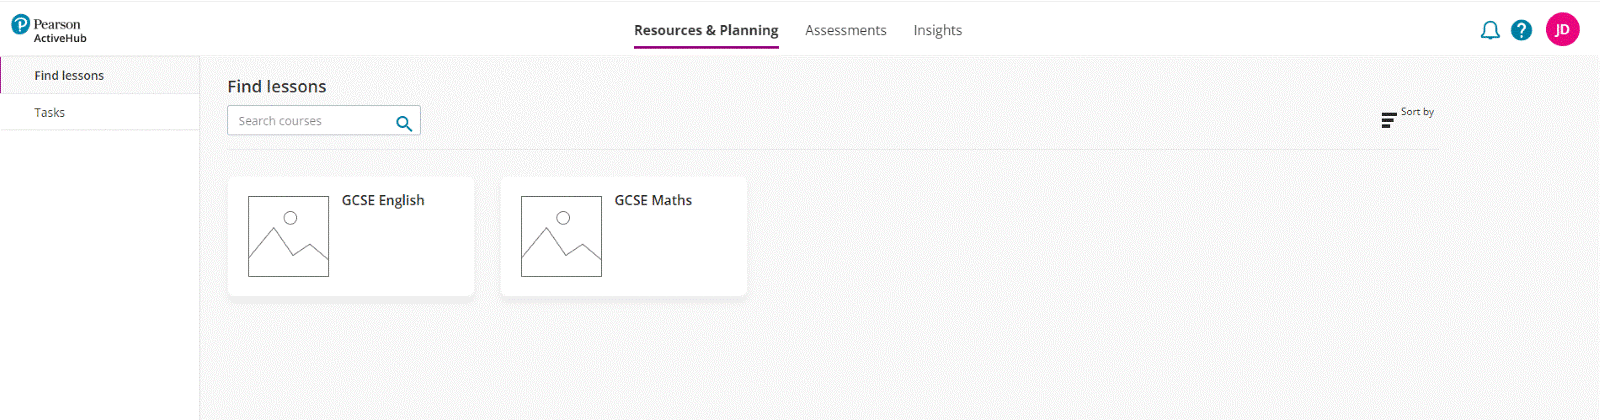
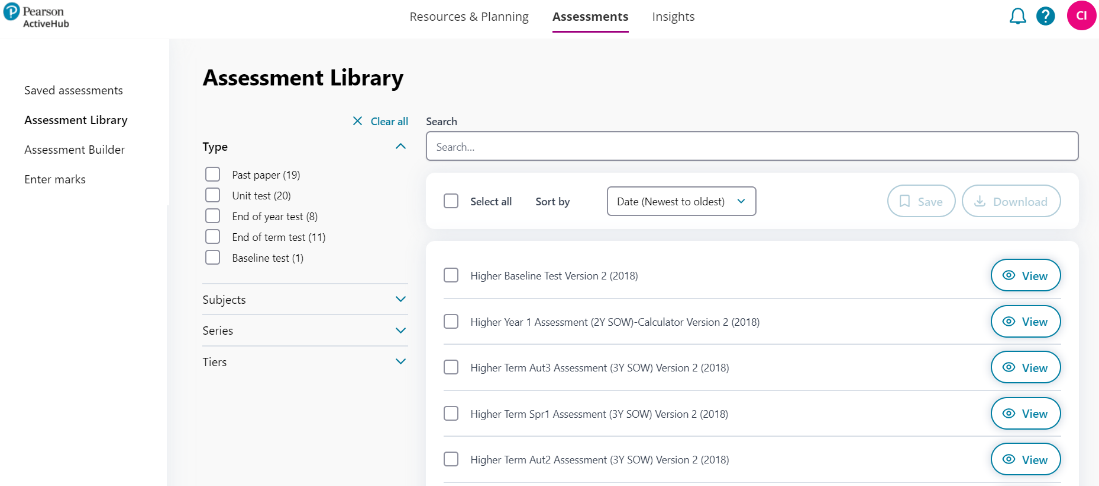
Build your own assessment from a bank of questions.
Assessment builder holds a large bank of individual questions and takes you through a four-step process to build your own assessment. The bank of questions includes questions from Edexcel past papers as well as from other Pearson assessments.
The step-by-step process helps you design an assessment to suit your students' needs, using questions covering specific topics and certain grade ranges. It creates the bespoke assessment paper, mark scheme and examiner report to be downloaded in word or pdf format. The assessment can be saved and shared with colleagues.
The following guidance takes you through the four-step process:
![Assessment Builder overview]()
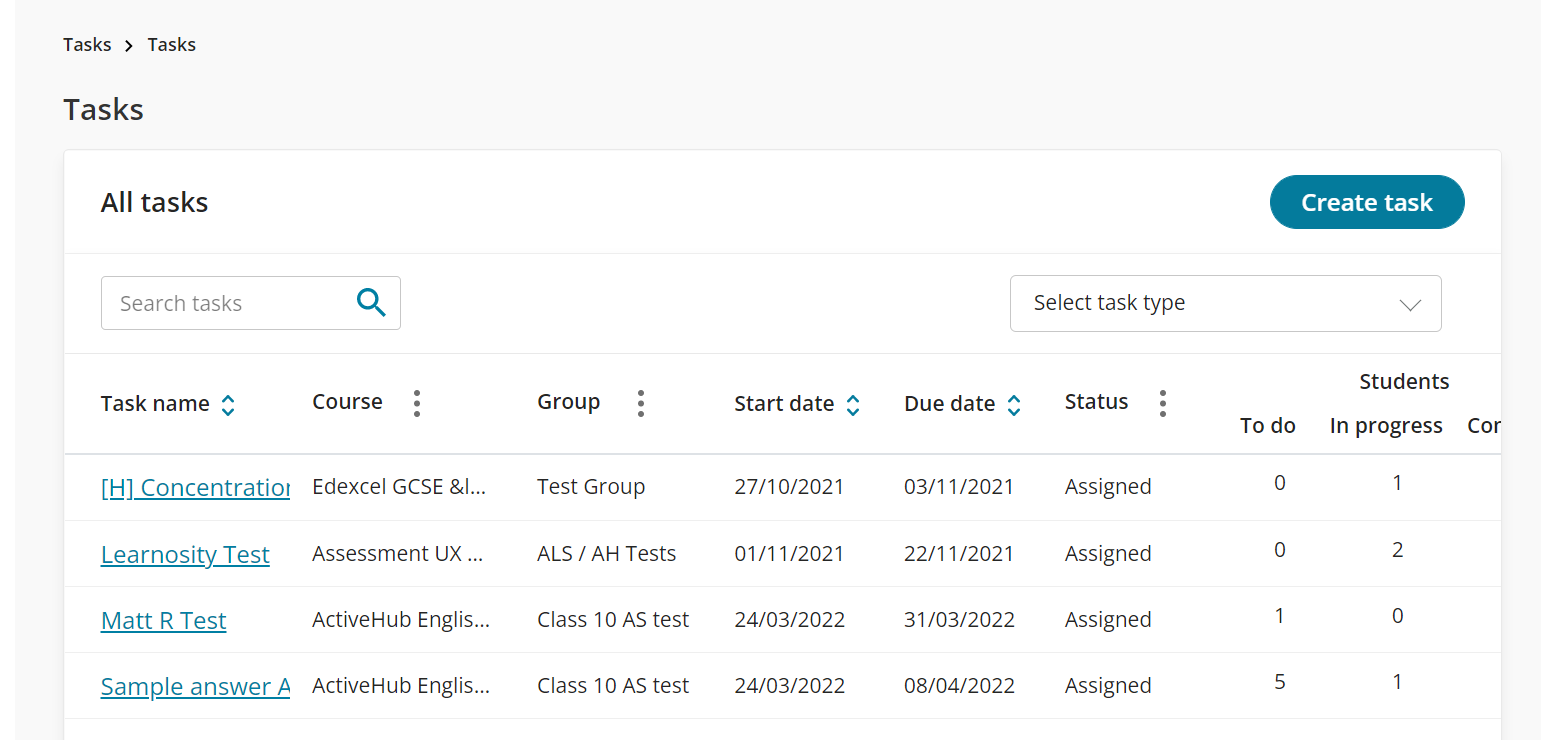
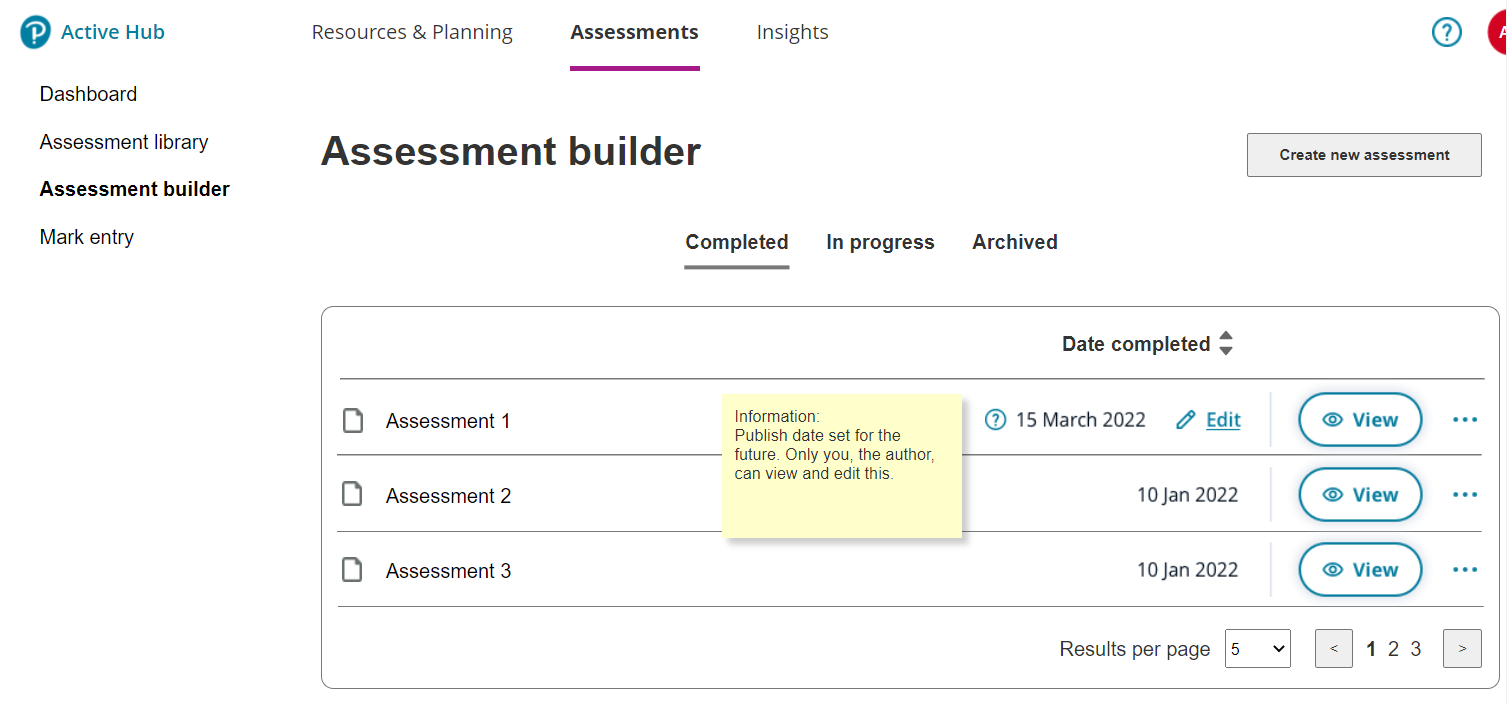
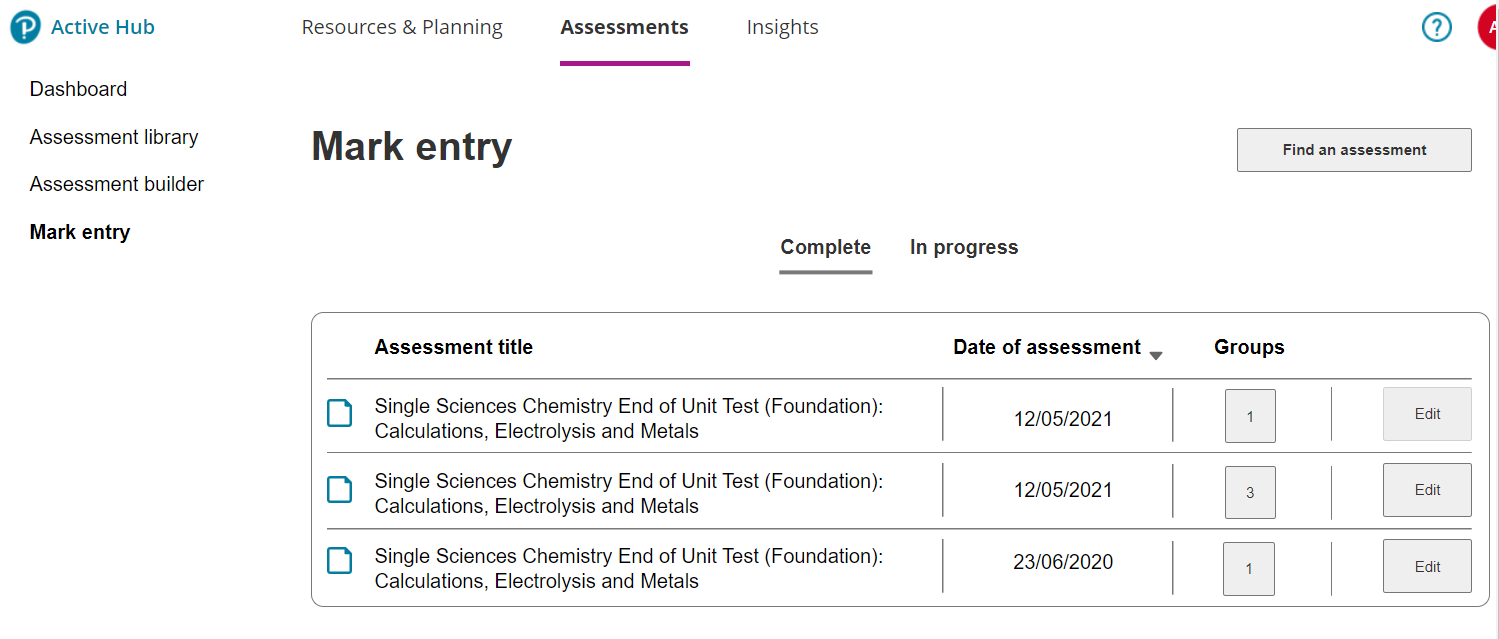
Start by seeing a list of completed assessments that can be saved into your own folder. Select Create new assessment to start building your own assessment.
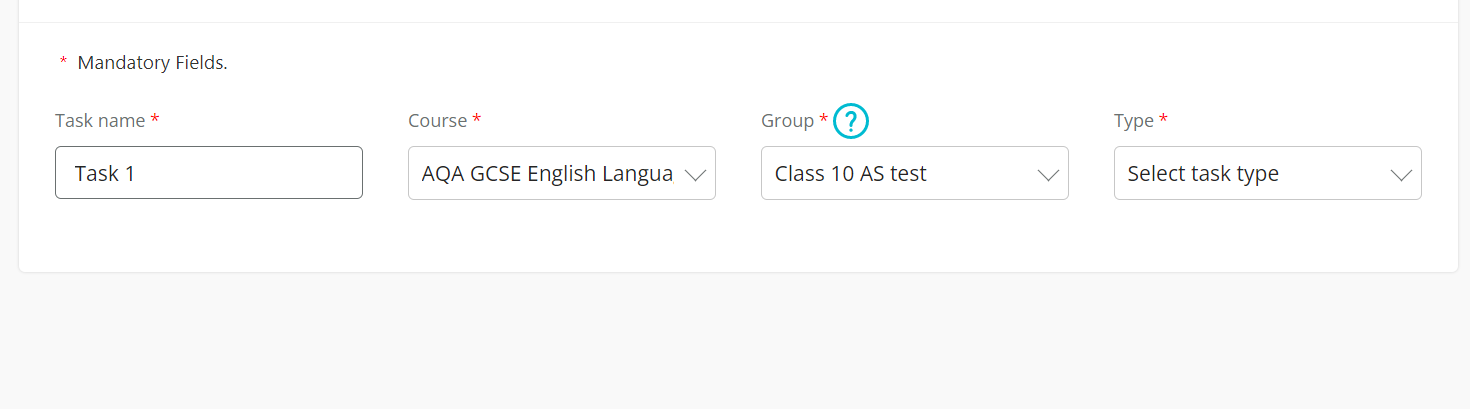
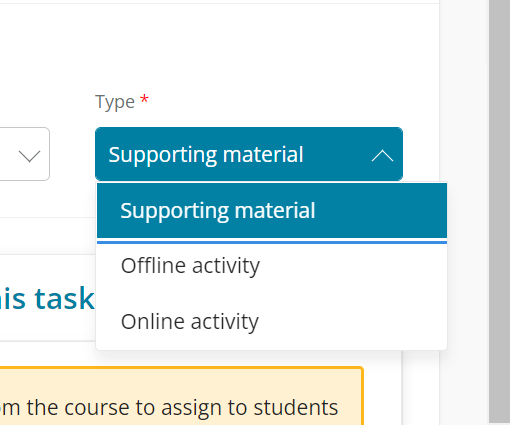
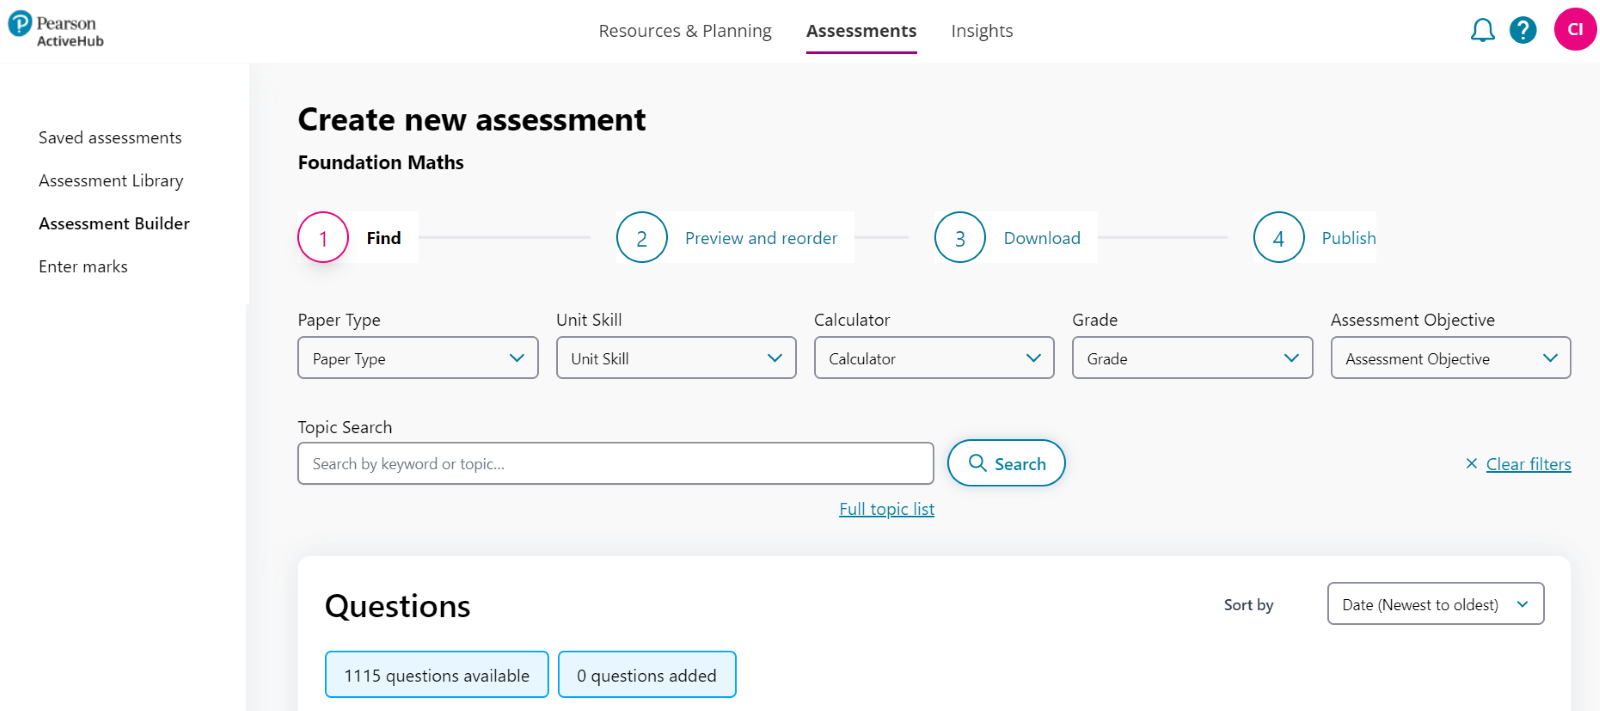
First, add questions
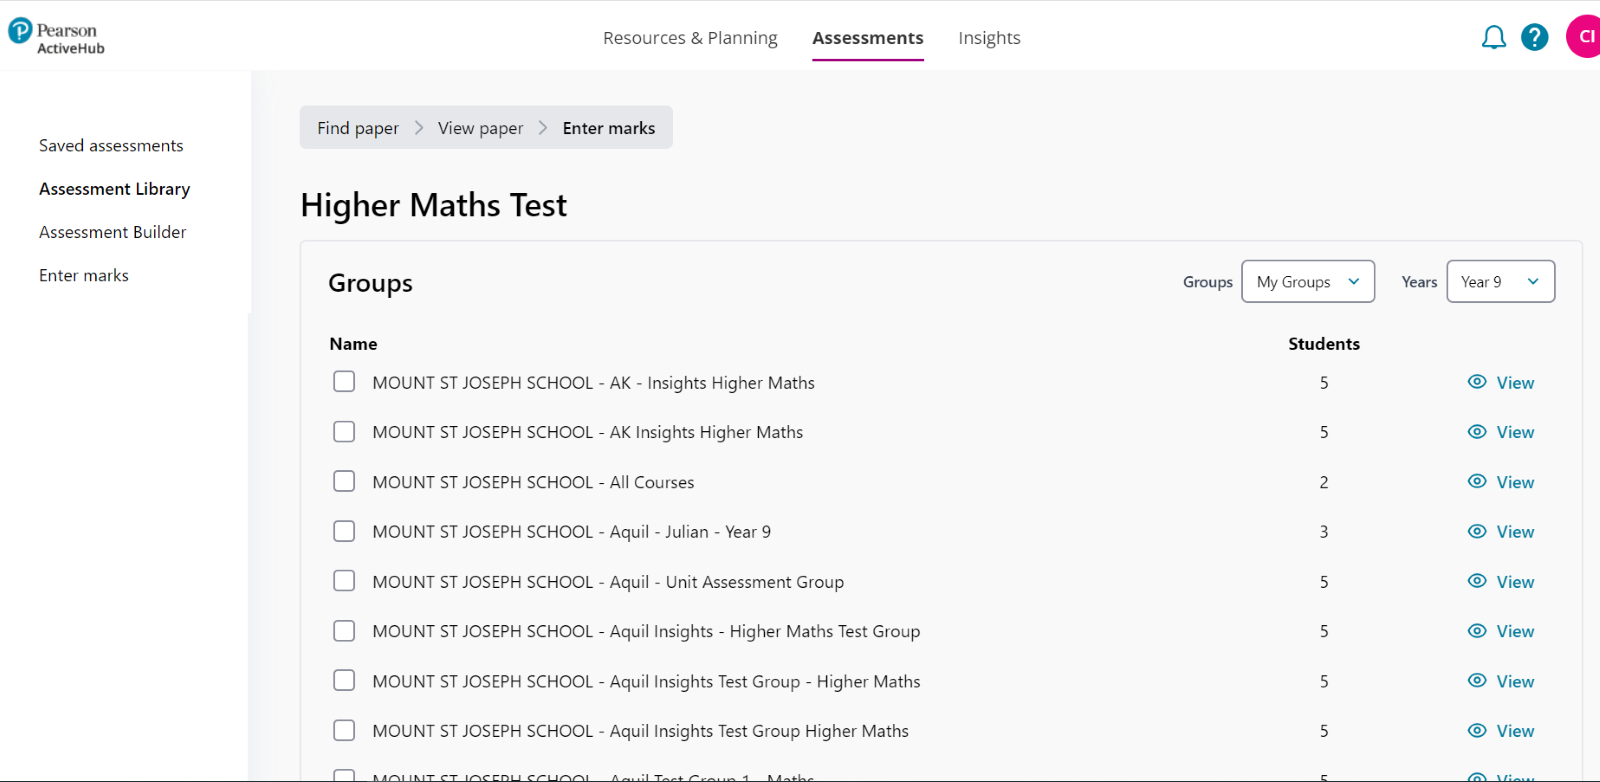
From the large bank of questions, narrow down the questions shown, by using the topic search or the various filters. Type in the topic name or use the Full topic list to select more than one topic.
![Assessment Builder add questions]()
The following filters are available (note that some can be dependent on the subject):
|
Assessment type
|
Select questions from the type of paper they were originally used in. For example, tick 'Past paper' if you only want to use Edexcel past paper questions. |
| Unit / Paper
|
For sciences, select the relevant subject and paper, e.g. B1. For maths select either calculator or non-calculator questions.
|
| Grade
|
Use the grade filter to select the level of difficulty for the questions. To select a range of grades, tick the grades within your range, e.g. 4, 5, 6.
|
| Tier
|
Choose questions from the Foundation or Higher tier.
|
| Assessment objective |
Select one or more assessment objective(s). |
To start again with the topic search and filters, select Clear filters.
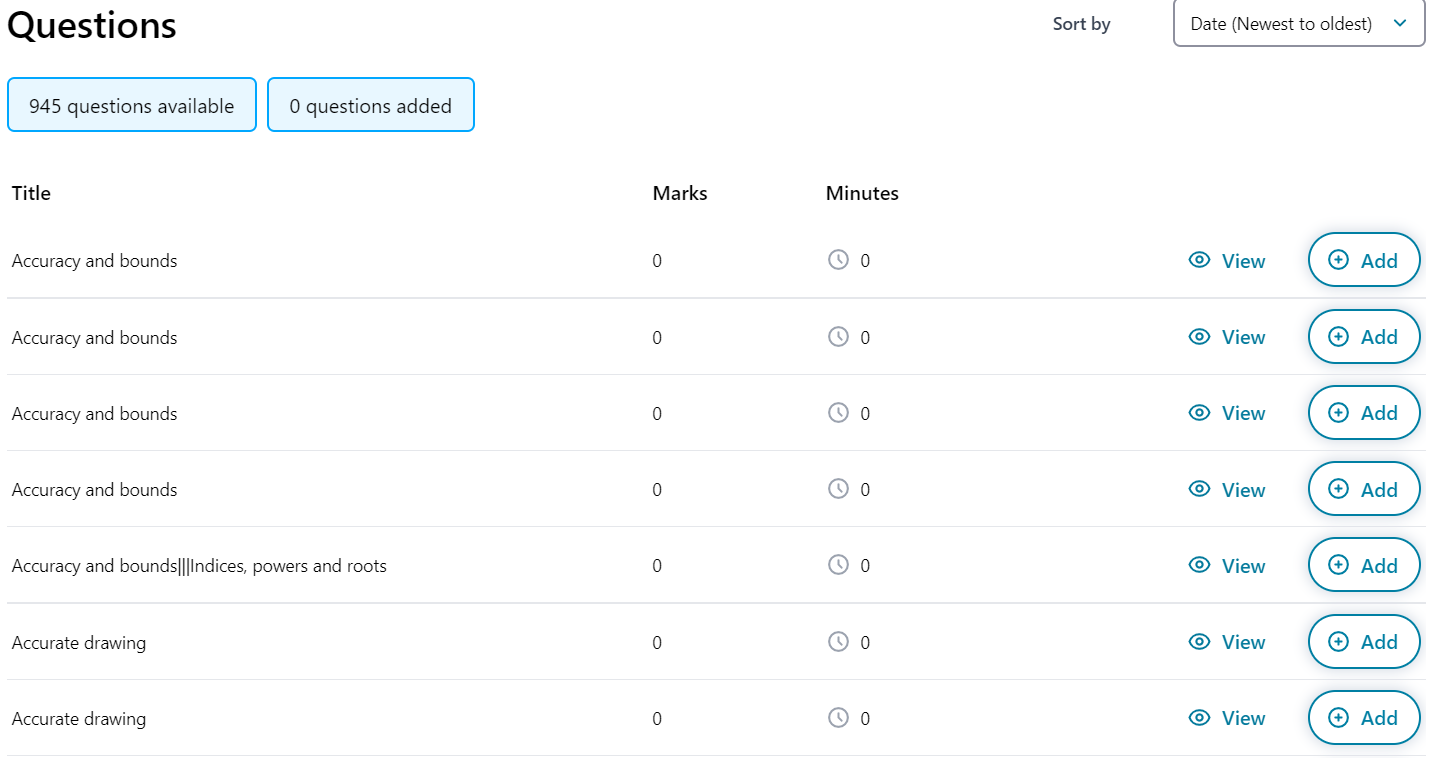
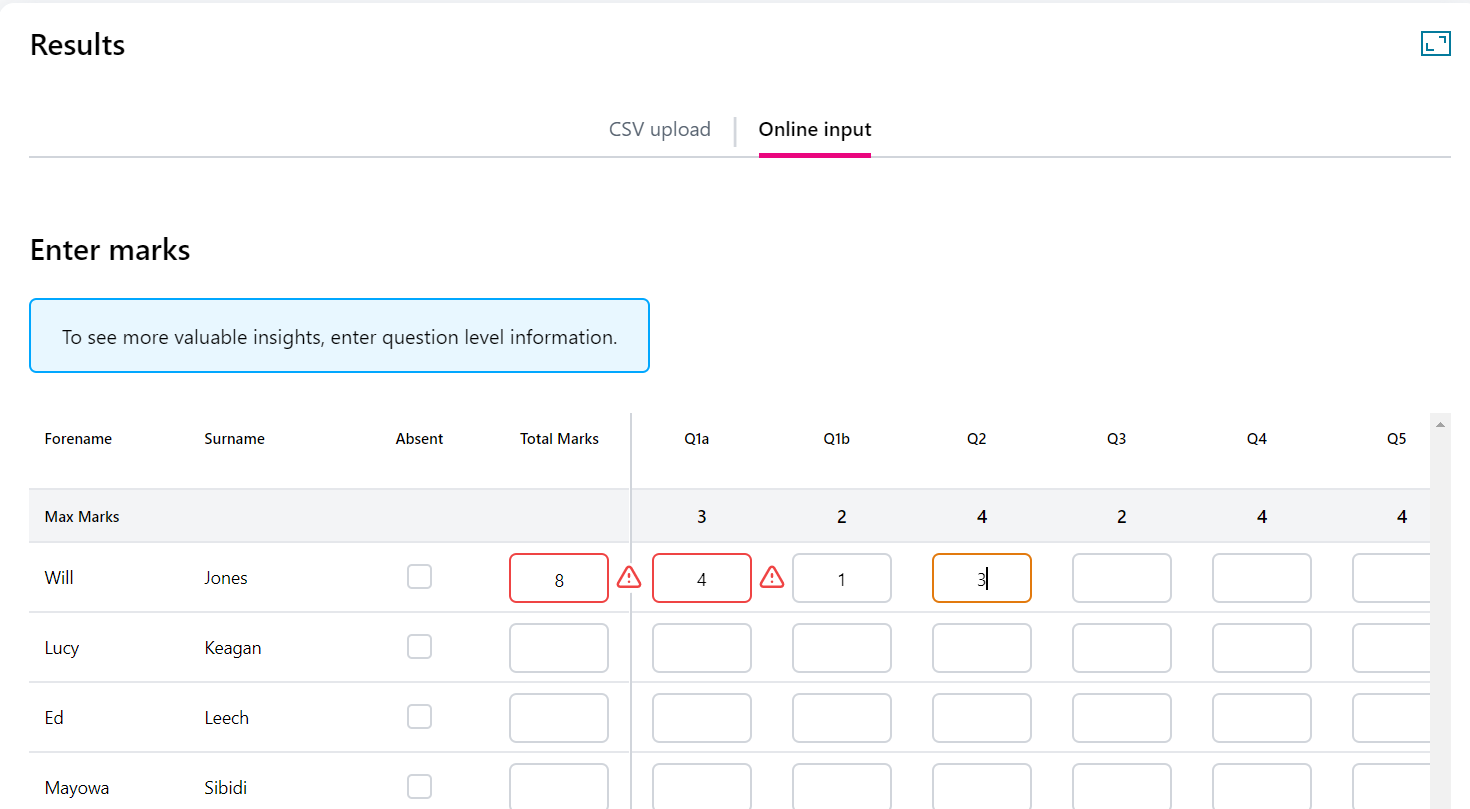
The questions are listed in the table below. Each question description shows what the question is testing. The grade, mark and minutes are shown to help you decide whether to include the question. Simply select View to look at the question and select Add to add the question to your assessment. If a question has been added, it can be removed by selecting Remove. Use the arrows next to the titles to sort the questions. Note: any questions with sub-questions will always be shown according to the grade which has the most marks from all the sub-questions.
![Assessment Builder add questions part 2]()
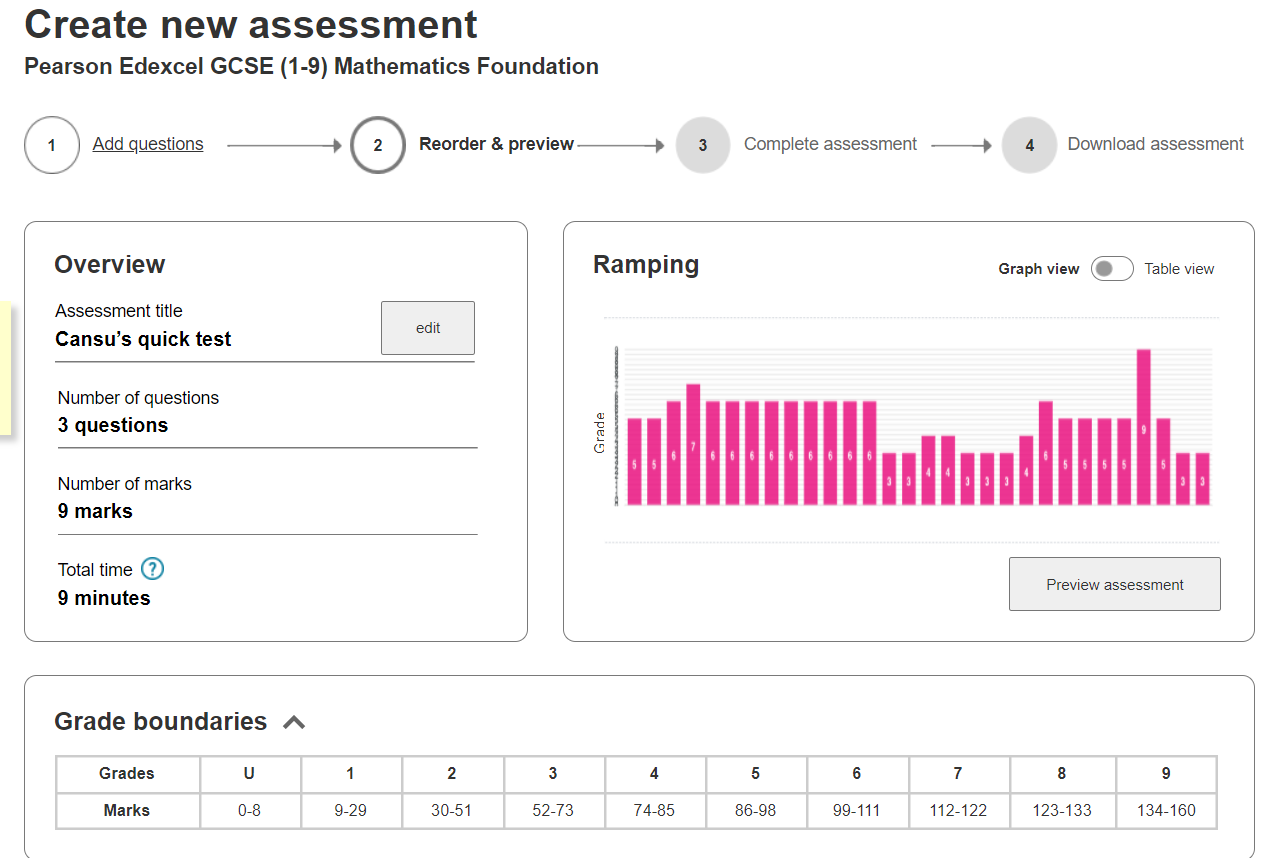
Next, re-order and preview
From the large bank of questions, narrow down the questions shown, by using the topic search or the various filters. Type in the topic name or use the ‘Full topic list’ to select more than one topic.
![Assessment Builder reorder questions]()
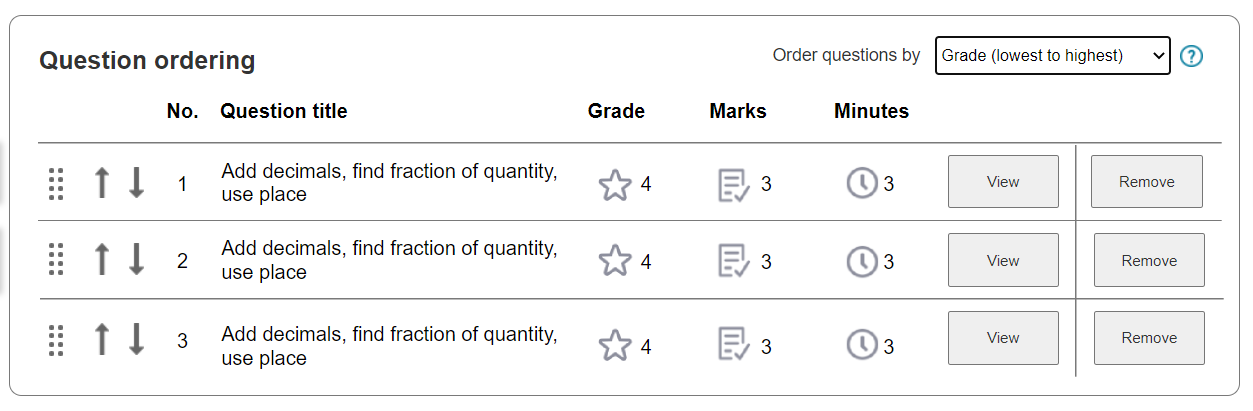
To change the order of the questions on the assessment, use the 'Order questions by...' drop down or click and drag each question individually. For example, if you want your assessment to go from easy to hard, use 'Order questions by grade (lowest to highest)'.
![Assessment Builder add questions]()
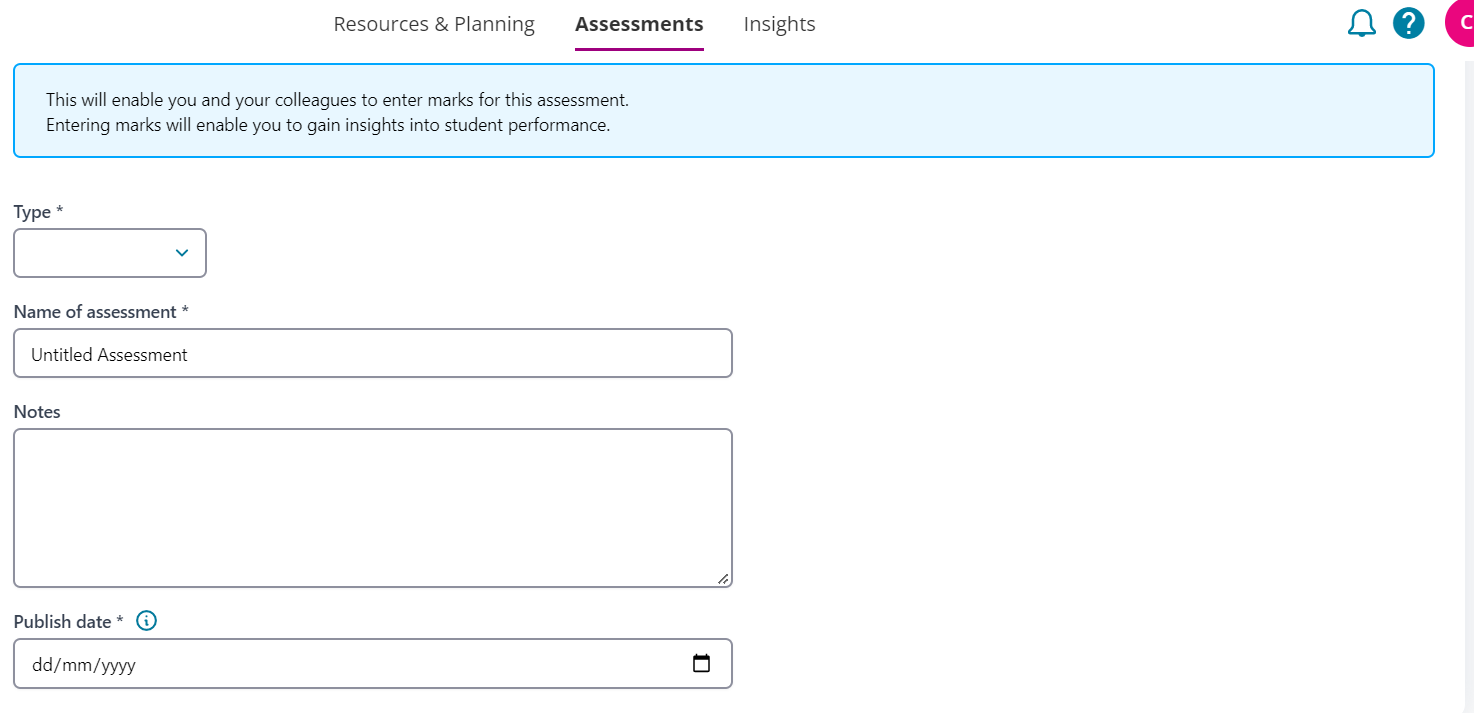
Complete your assessment
There are some required fields needed in order to save your assessment; this includes the assessment type, assessment title and the date the assessment will be made available to others in your school. If you want to hide your assessment from other staff, or if you want to continue editing it, then set a publish date in the future.
To add a cover sheet for your assessment, enter the relevant fields. Once your assessment is complete, you can download it.
![Assessment Builder complete assessment]()
Download your assessment
Download your bespoke assessment paper, mark scheme and/or examiner report (only for past paper questions) into a Word or PDF format.
![Assessment Builder download assessment]()